
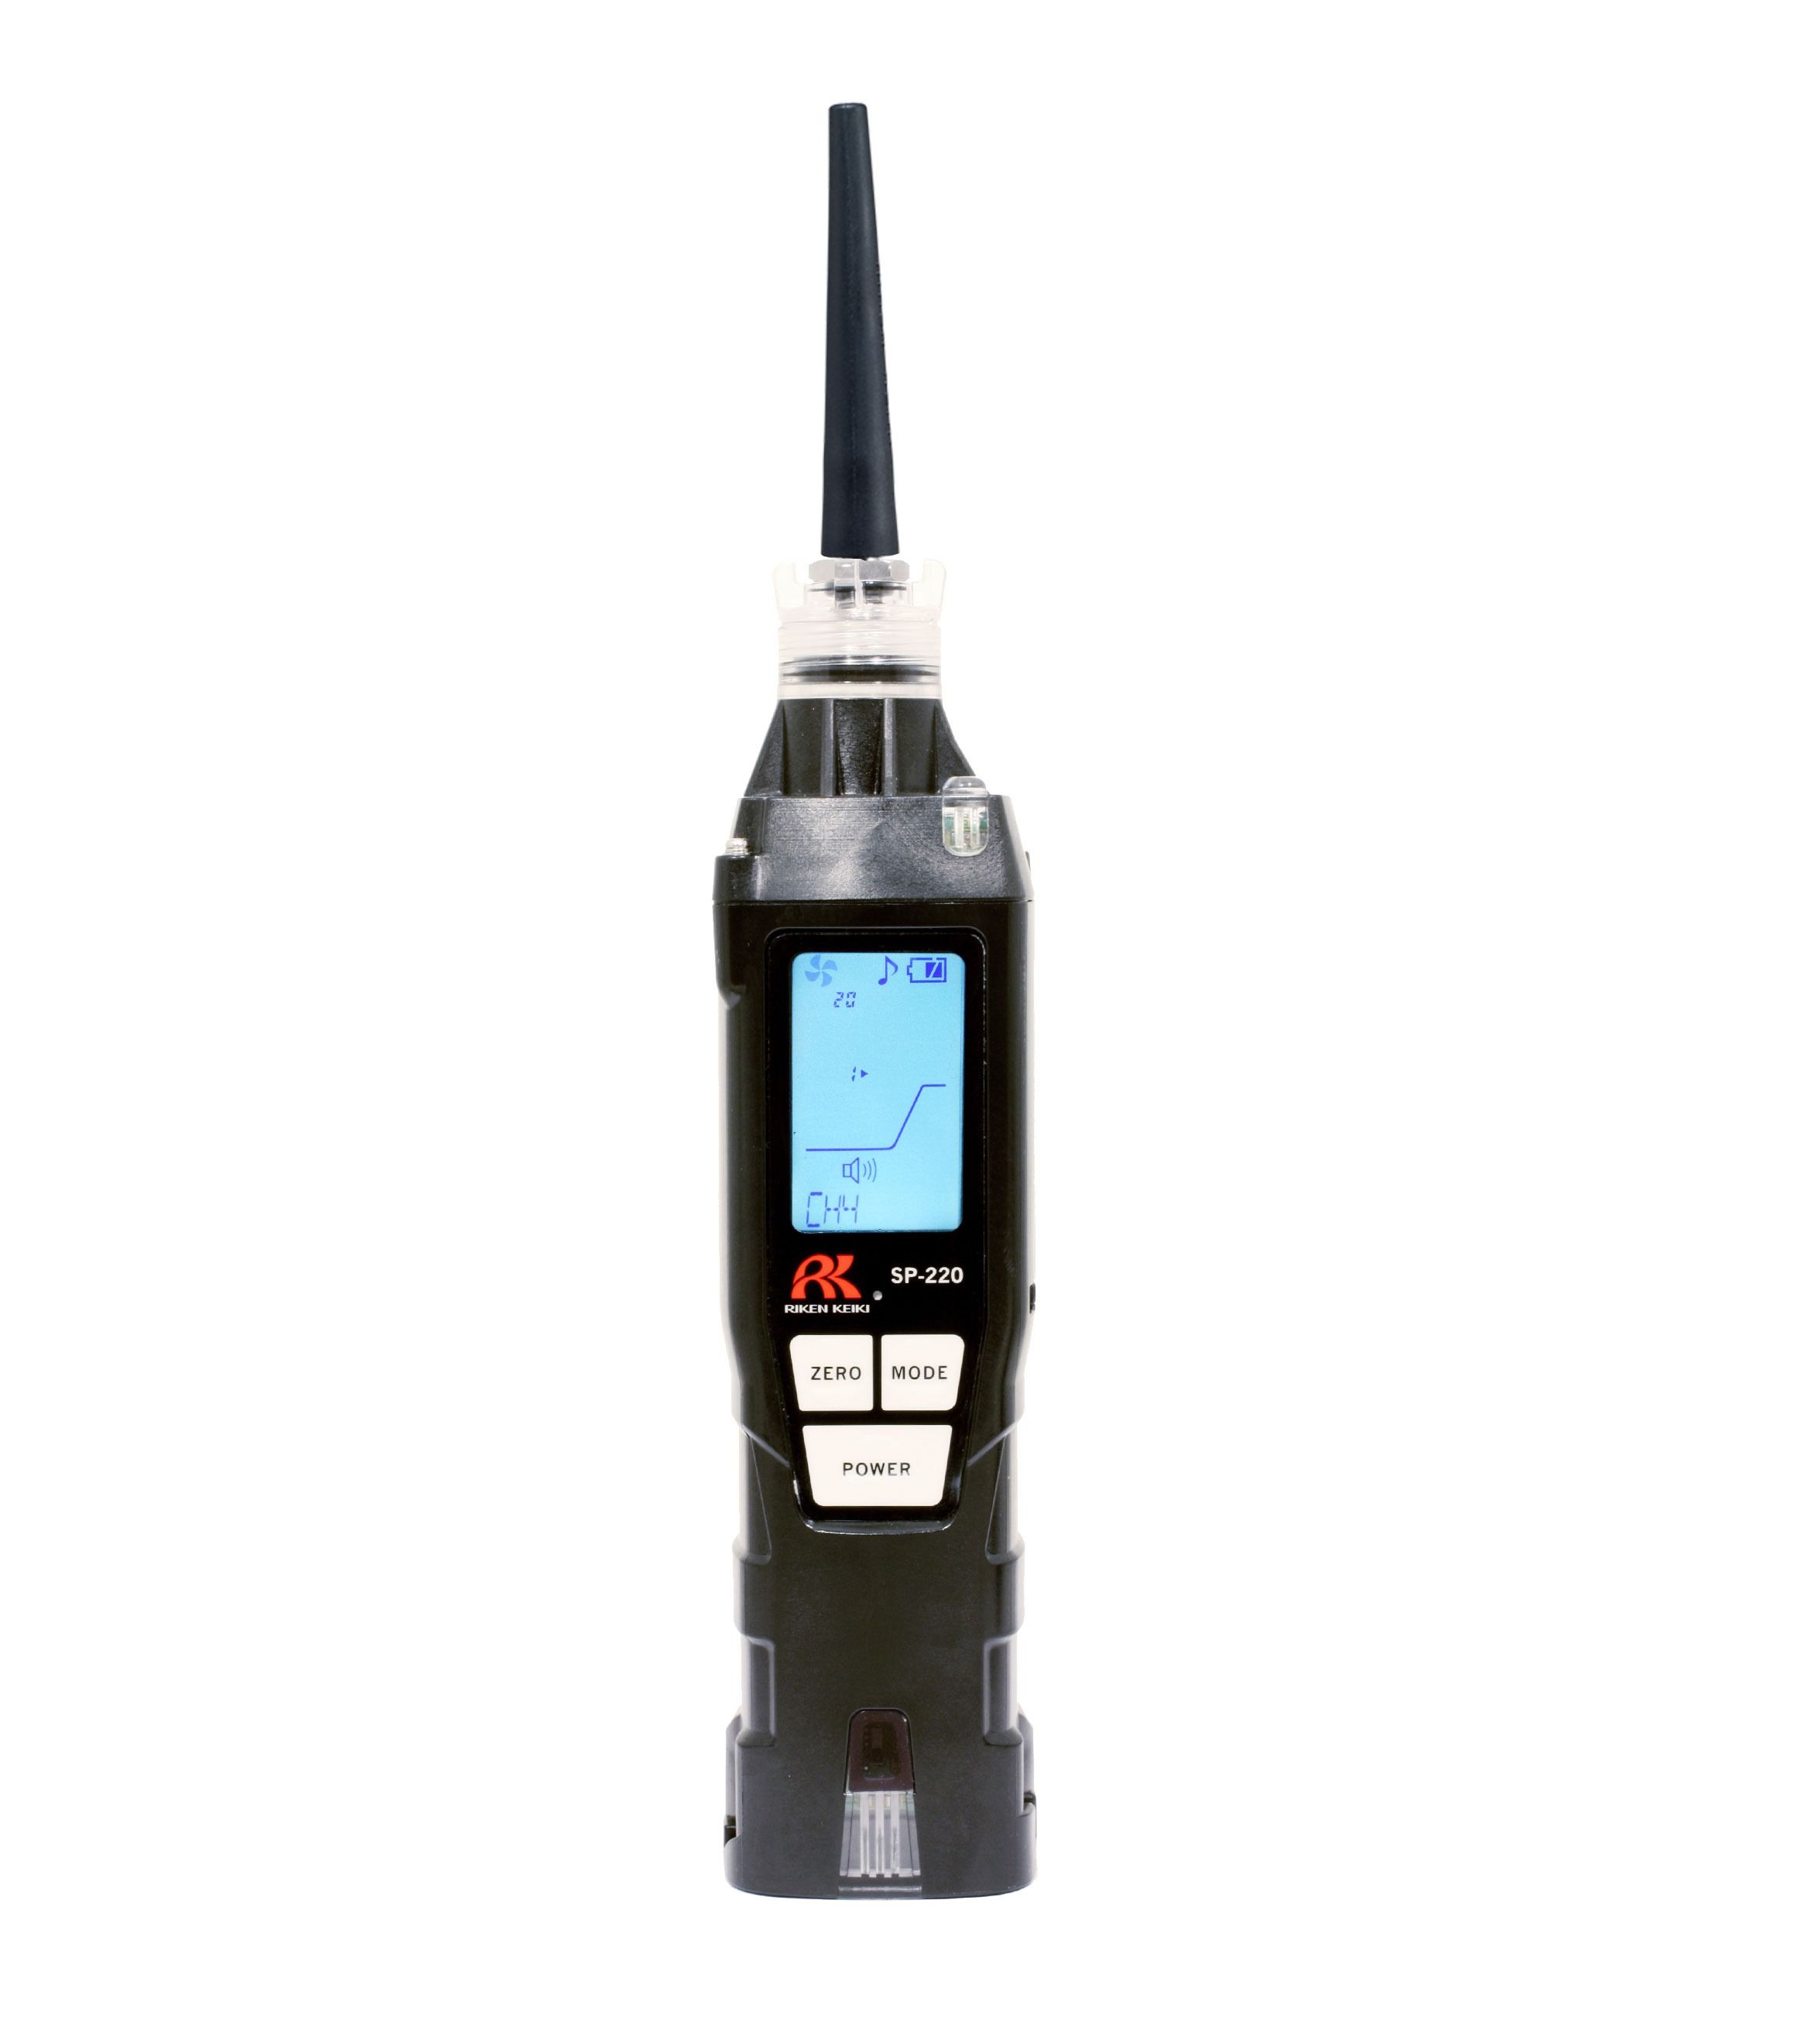
SP-220
General information
For fumigation, town-gas and LP gas check. SP220 Lead Checker.
Features:
- Over 40 target gases available
- Sensitivity and gas range automatically change based on selected target gas
- Weighs only 7.5 ounces
- Resistant to silicone poisoning
- Silence gas alarms for discrete leak checking
- Snap logging records and saves to up to 128 readings
- Built-in LED lighting for dark and confined spaces
- IP 55, SP 220
- 12 hours operation

How to calibrate your SP-220
These instructions describe an automatic calibration of the SP-220. Be sure you have performed a fresh air adjustment and prepared for calibration as described in the previous sections before continuing.
- If you have just performed a fresh air adjustment and the instrument is still running in Calibration Mode, continue to step 5. If your instrument is not currently running in Calibration Mode, continue to step 2.
- With the instrument running in Detection Mode, press and hold the AIR and MODE buttons for 3 seconds.
- If the Calibration Mode password parameter has been set to on (factory setting is off),you will be prompted for a password. Use the AIR and MODE buttons to adjust each character and press the POWER button to move to the next character.
- The AIR CAL menu item will be displayed.
- Use the AIR or MODE button to scroll to the AUTO CAL menu item.
- Press and release the POWER button. The autocal value will be displayed.
- To adjust the auto cal value:
- Press and hold the MODE button then press and hold the POWER button. The auto cal value will begin to flash.
- Press and hold the MODE button then press and hold the POWER button. The auto cal value will begin to flash.
- Press the POWER button to confirm the change.
- Press and release the POWER button. The gas reading will begin to flash.
- Apply calibration gas for 1 minute. Depending on your calibration kit, you will need to either:
- Connect the gas bag tubing to the instrument’s inlet or
- Connect the tubing from the demand flow regulator to the instrument’s inlet.
- Press and release the POWER button. The instrument will perform a gas adjustment and will return to the AUTO CAL menu item.
- Disconnect the calibration gas source from the instrument’s inlet fitting.
- To enter Detection Mode, scroll to the MEASURE menu item and press and release the POWER button. To turn off the instrument, press and hold the POWER button